Do you like an outdoors adventure, and you want to start developing some gardening and survival skills? Knowing how to make DIY rope from plants fibre is a must-have skill.
Imagine that you suddenly got lost during a camping trip in the woods, and you forgot to come along with any rope for survival! As long as you know how to make DIY rope from plants around you, you will be fine.
Even in the garden, you can use natural rope for various gardening purposes, such as decorations, swings, borders, and plant supports. Natural ropes are also useful for edging garden beds and supporting or/and tying plants.
To make DIY ropes, you can use fibres from various plants such as jute, manila, Sisal, yucca, etc. However, the specific method may vary based on the natural plant material you choose and how your desired rope thickness.
Now, let’s delve into the step-by-step guide on how to make DIY rope from plants.
How To Make DIY Rope From Plants Naturally
Making natural ropes is fun, simple, and purposeful. These natural ropes are strong and 100% biodegradable.
They can be made from garden plants like Banana, Lemongrass, Lomandra/Mat rush, Bulrush/Juncus, Acacia bark, Hibiscus bark, Agave, Sisal, Yucca, Flax, Nettle, Straw, and so on.
However, in this post, we will show you how to make home-based rope from Banana and Sisal. These two plants are often common in our garden.
How to make rope from Banana/Plantain plants in your garden
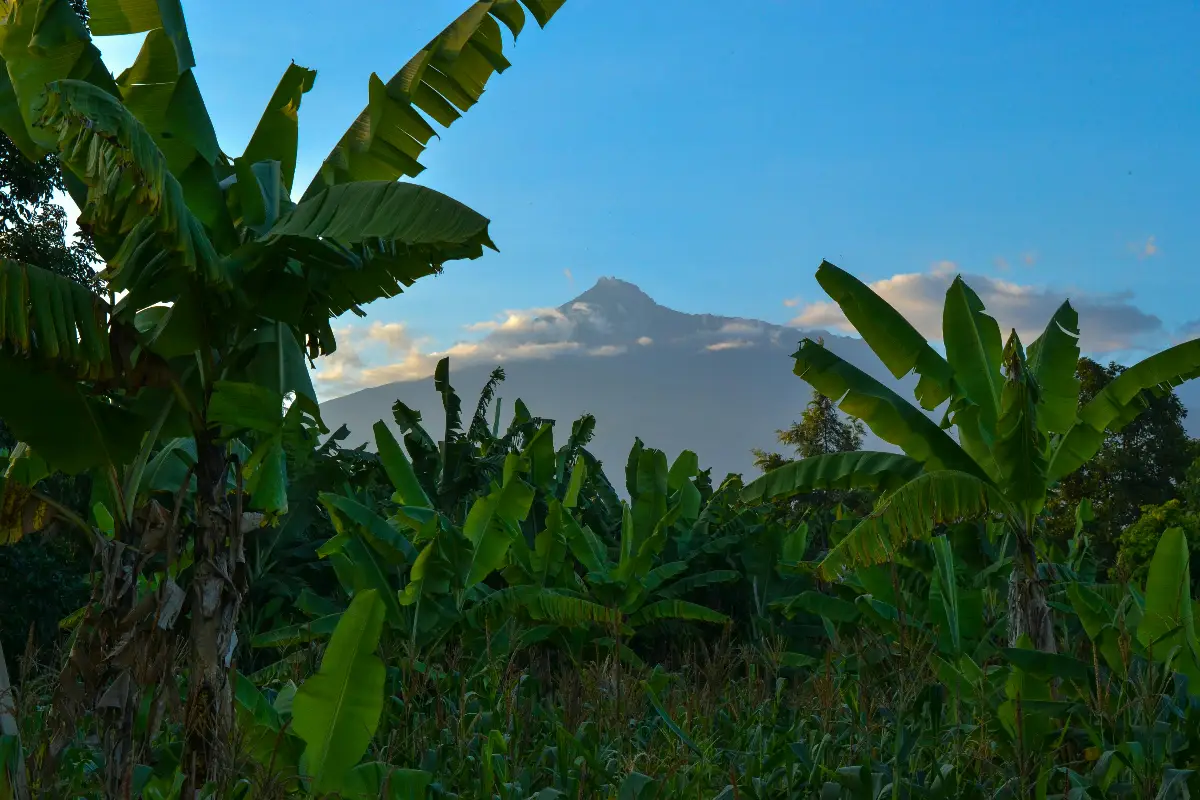
Leaf sheaths from banana/plantain stems or stalks can be split to produce strong cordage, which has many uses in the garden.
To get the stringy fibres from the banana/plantain plant to make cordage, you need to wait until you harvest the fruit. After harvesting the fruit, cut the stem into long log-shaped pieces.
After that, carefully separate each leaf section from the stem, layer by layer. Depending on how thick the stem is, you may get as many as 15 to 25 leaf sections from a banana stem.
After peeling off all the leaf sections from the banana stem, dry them immediately in the Sun for some days. Doing this will prevent insects from invading and damaging the leaf sections.
Once the sections are well-dried, split each section into several narrow sections using your fingers or a knife. If a section is brittle, you can wet it to soften it up before splitting.
Note that the width of the narrow sections will determine how strong your rope will be. While a width of about 3cm or 4cm (1in or 2in) is ideal, you can make it wider or narrower depending on how thick or thin you want the rope to be.
Now you have several strips of banana leaf. Depending on what you want to use them for, you may use these strips as they are.
If each strip is not long enough, you can tie several strips together to suit your length. You may also decide to twist or braid several strips together for a stronger rope with greater strength.
In case of emergency, you can still make a rope out of the outer leaf sections of the banana stem while the banana plant is still bearing fruit or standing. This is possible because the outer leaf sections usually dry out and die even while the plant is healthy.
However, you may not be able to pull off more than one or two of these outer leaf sections without affecting the plant.
So, the next time you need some rope in your garden or yard, look to the banana/plantain tree as a reliable source of homebase rope.
How to make rope from Sisal (Agave sisalana) plant fibres in your garden
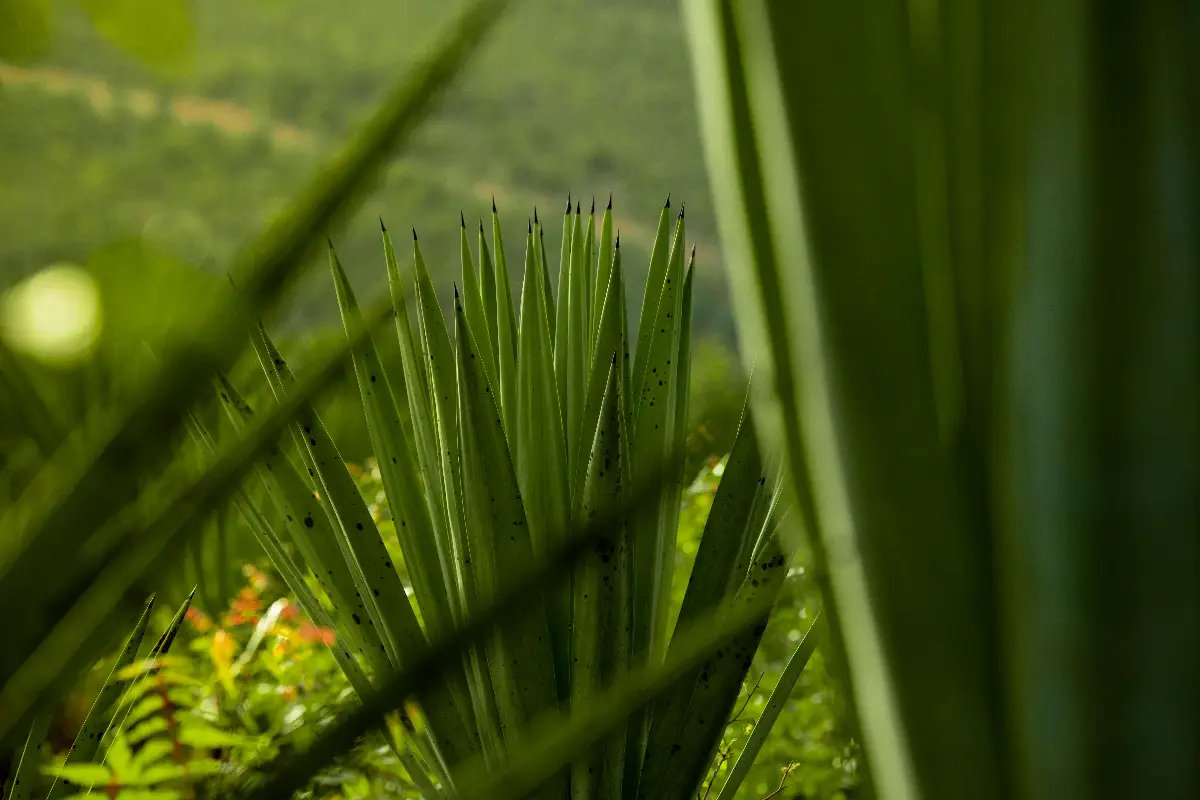
Perhaps you don’t have banana or plantain plants in your garden, you can still make homemade ropes out of Sisal plants. Here is how to achieve that:
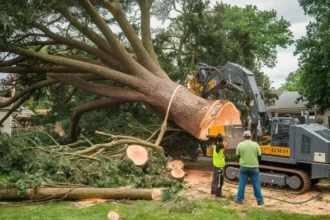
You need a cutting board, a sharp knife, and a pair of gloves to protect your hands from the thistles/spines on the leaves. With the knife, collect as many leaves/blades as possible from the plant, cutting them from the base.
Carefully remove the spines, and avoid injuring yourself. Split the leaf into two to enable you to handle it well. With the back of the knife, scrape off the green flesh from the fibre, applying slight pressure. This should reveal the whitish tough fibres.
We recommend that you allow the Sisal leaves to sit in the Sun for some days before scraping, if possible. This will make it much easier to remove the flesh from the fibre. Also, pulling the Sisal leaf towards yourself while pushing away with the blade makes the scraping easier.
Do this for all the harvested leaves to remove their fibre, which is incredibly strong. Dry the removed fibre in the sun for some hours. As the Sisal fibre dries in the Sun, it also whitens.
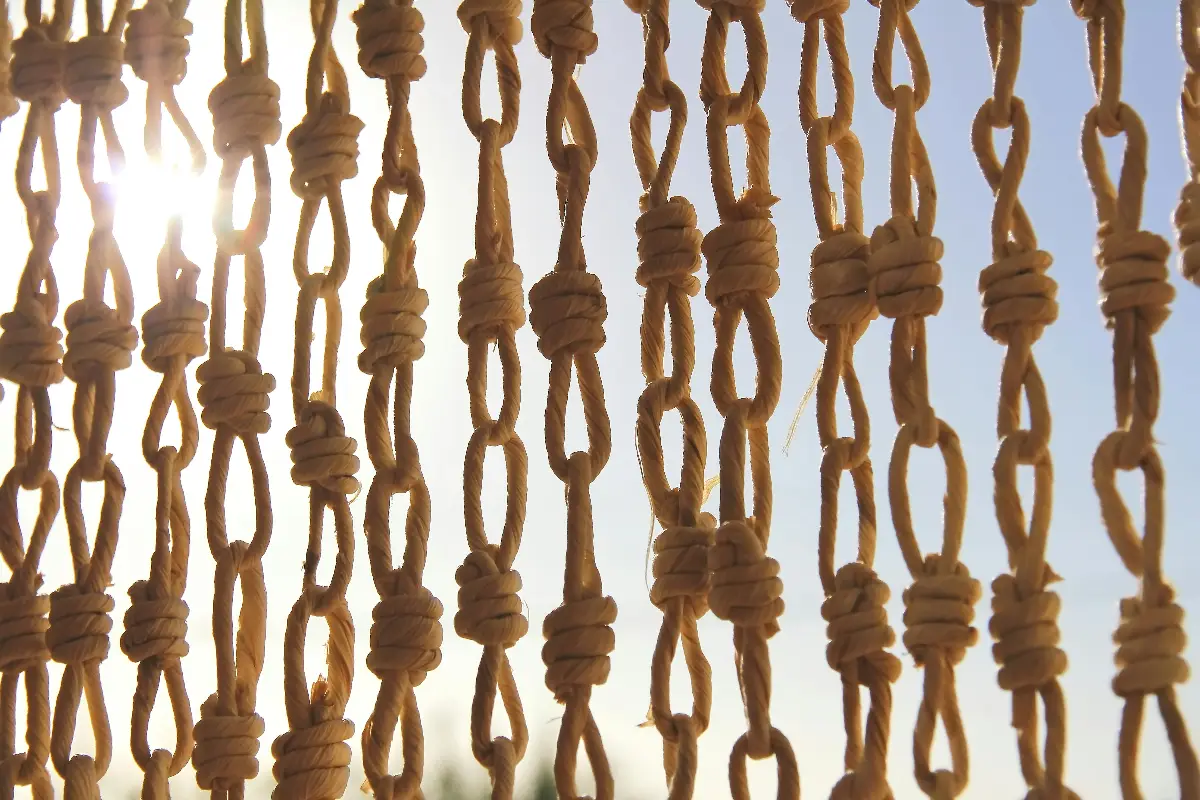
The next step involves twisting or braiding the fibre in a rope. Start by thinning out the fibre bundle into smaller strands. The strand size will determine the thickness of the rope.
You can wind a bundle against itself to form a twist, or you can make a braid with three strands. Sisal fibre makes a very strong rope. Make a knot at the end of the rope to prevent reverse wrap.
To lengthen your rope, all you have to do is twist another fibre bundle or strand into the existing braid – splicing. Braid as many strands as possible into existing ones until you get to your desired length of cordage.
Usefulness Of Natural Ropes In The Garden
Homemade ropes like those explained above can be used for various gardening purposes, which include:
For supporting plants: You can use homemade ropes to support climbing or crawling plants like vines, peas, beans, and so on. This will ensure that they receive adequate support to grow upright.
These ropes can also be used to support plants with heavy fruit like eggplants and pepper. The rope will support the weight, preventing the plants from falling.
If you love aesthetics, you can use the homemade rope as plant hangers. What a cost-effective way of adding a touch of rustic charm to your garden.
For making borders and edging: You can use natural ropes to create a visual boundary in your garden, to separate different sections within your garden, or to define garden beds.
You can also use it to delineate pathways and separate your lawn from other areas – lawn edging.
Other uses: for making a swing for fun in your garden, for decoration, and for hanging garden/farm produce for drying after harvest.
As earlier stated, knowing how to make DIY rope from plants is fun and an important skill in gardening. It can be very useful for emergencies.
By following our guide above, you should be able to make your first cordage from Banana stems or Sisal leaves.
Even if you don’t get it perfectly on the first try, you should master the art after a few practices or more. Once you master transforming plant fibres into DIY ropes, your cordage should come out looking beautiful, slender, and firmer.
To improve the look of your cordage, you can use a pair of scissors to trim the fibres that stick out after braiding. Now, you have made a real rope by yourself, made solely from natural plants in your garden.
If you like this article, check out our other articles for more gardening tips.
Frequently Asked Questions (FAQs)
You can use any fibrous plant to make rope. Examples of plants with durable fibres for making ropes include Hemp, Nettle, Dogbane, Milkweed, Sisal, Jute, Banana leaves, etc. You can also use the inner bark of tulip trees, white basswood, and cedar.
Just as explained in the body of the article, you will start by separating the fibres from the fleshy part of the plant. Some plants require buffing or crushing to separate the fibre from the flesh. The next step is sun-drying the fibres. Some fibres require retting, which is soaking the fibres in liquid to loosen them and prevent brittleness, before drying. Once the fibres are dry, you can proceed with making the rope.
There are two main methods of achieving this, which are braiding and twining. Twining involves twisting the fibres together, clockwise or counterclockwise, to make natural cordage. Braiding involves intertwining three or more fibre strands to form a cordage.
To preserve your natural rope, keep it dry and protect it from the Sun to prevent damage to the fibres.