Did you have a great harvest of fresh peas from your backyard garden this season and are thinking of how to preserve them for the months to come? This post is for you!
The best and most economical way to preserve your garden peas throughout the year is by freezing them. Freezing peas properly keeps them tasting like they are fresh out of the garden.
Whether yours is the Hull or English peas, Sugar snap peas, or Snow peas, in this post, we will show you step-by-step how to freeze your peas fresh from the garden and preserve them for a long time. Read on.
What You’ll Need?
Here are the necessary items you would need to get started:
- Fresh Peas
- Pot
- Hard-boiled water
- Large quantity of water
- Ice
- Bowl
- Freezer Bags
How To Freeze Peas Fresh From The Garden?
This section will guide you on how to freeze peas. Kindly note that these procedures also apply to other types of peas, except Snow peas, which can be blanched and frozen with their pods.
Step 1: Shelling and washing
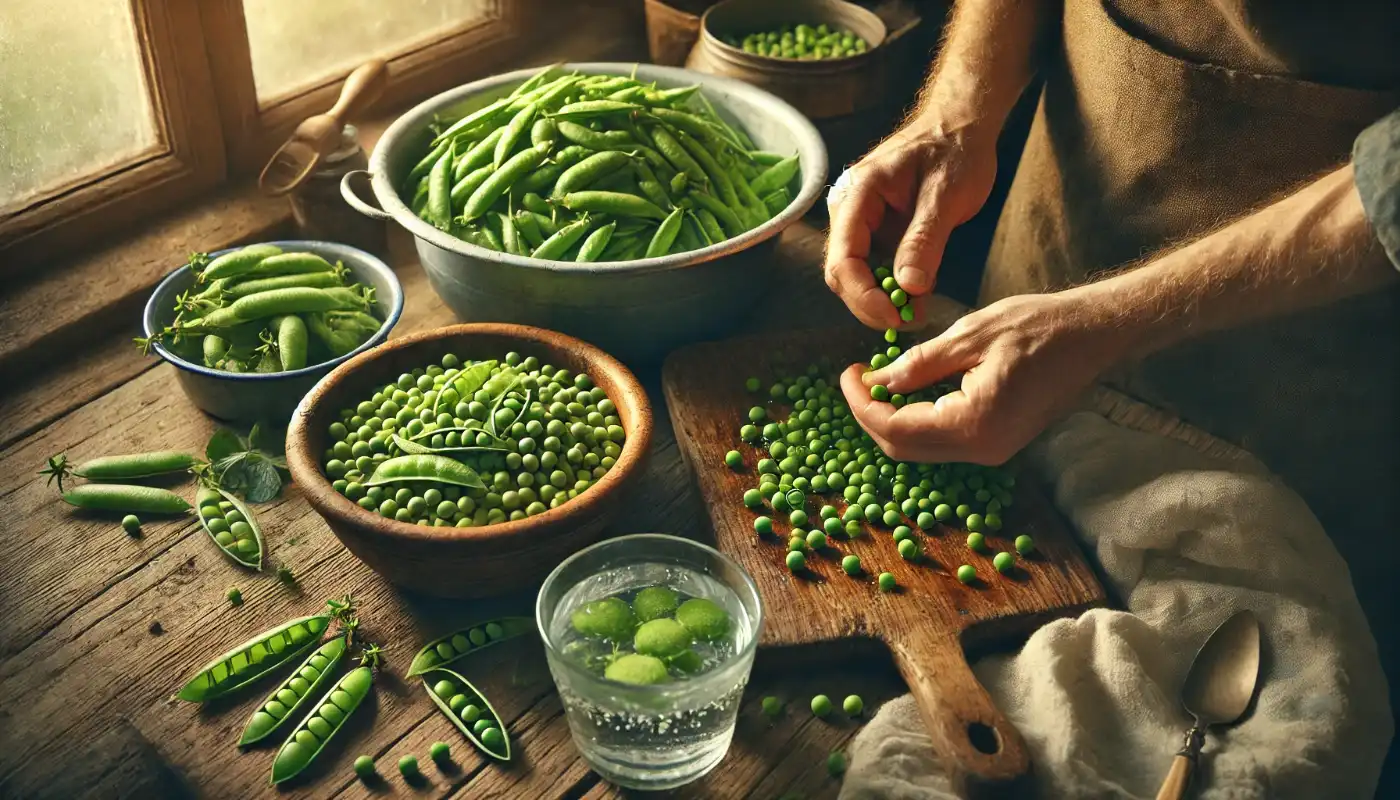
The first thing you have to do after harvesting is to shell the peas – removing the peas from their pods.
Be careful when doing this so as not to damage the delicate peas.
After shelling, wash the peas gently in a bowl of water. With a sieve or your hands, gently scoop the peas out after washing them into a large pot.
Make sure that the peas are not overcrowded in the pot.
Note: It is better to harvest your peas early in the morning when they are still very fresh.
Step 2: Blanching the peas

The next step is blanching the peas. Blanching helps to retain the nutrition and color of the peas.
Add the hard-boiled water to the peas in the pot. Make sure that the water covers up all the peas in the pot and still leaves enough room for the peas to move around.
If you overcrowd the pot with peas, some of the peas will get overcooked while some will be undercooked.
Place the pot on a cooker and let it return to boiling. Leave the peas to boil (blanch) further for about 1 minute before turning off the cooker.
Note: Don’t overcook the peas. If you do, they will become too soft when you reheat them.
Step 3: Cooling the peas in ice water
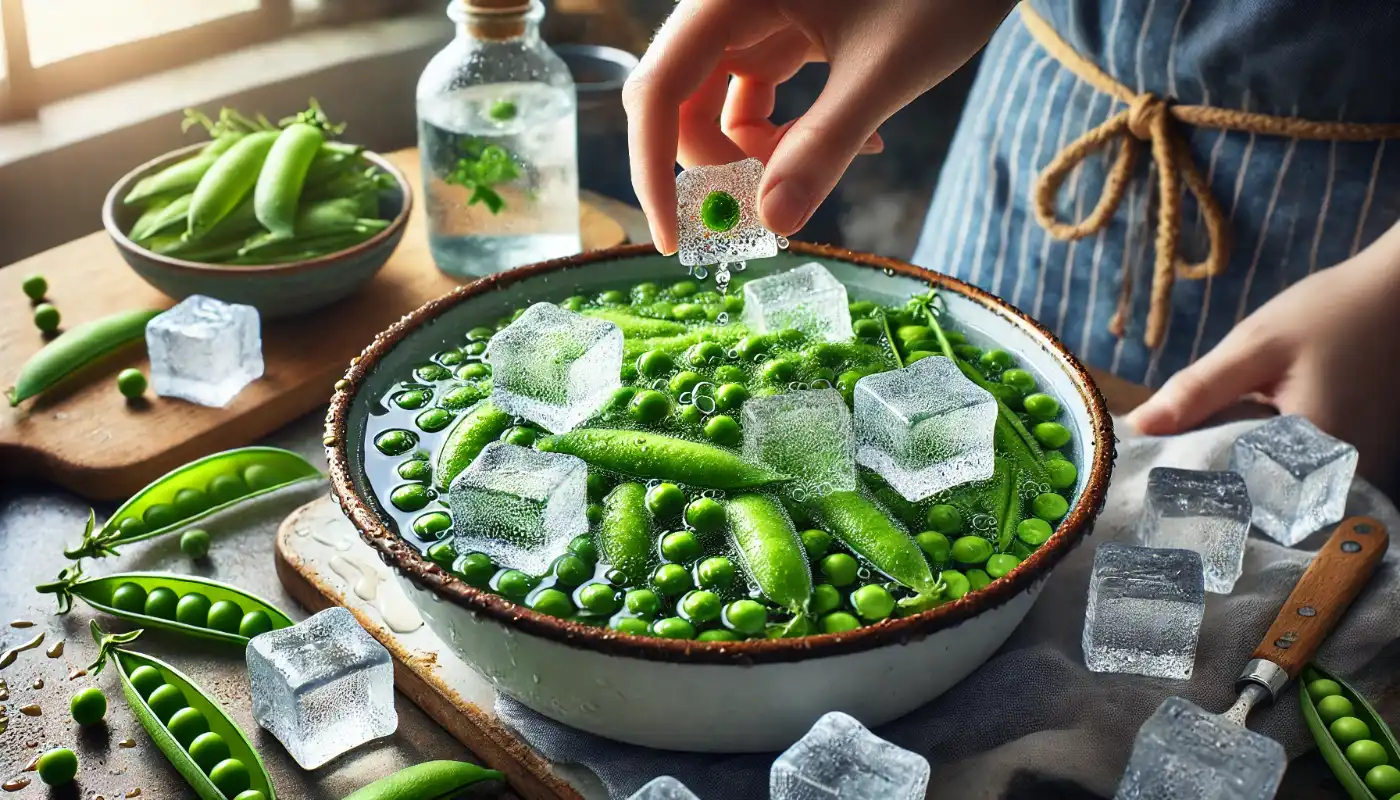
With a sieve, quickly scoop out the peas from the boiled water into a bowl of very cold or ice water. This prevents the peas from cooking from their own heat.
Leave the peas in the ice water for about four to five minutes until they are completely cooled.
Once the peas are cooled, take them out of the water and drain them. If you have a spinner, you can use it to spin the water off the peas. Otherwise, a sieve or colander is fine.
After draining, spread the pea on paper/kitchen towels or baking sheet for a few hours to get rid of excess water.
Note: It is very important to allow your peas to dry completely. Otherwise, they will stick together after freezing.
Step 4: Freezing
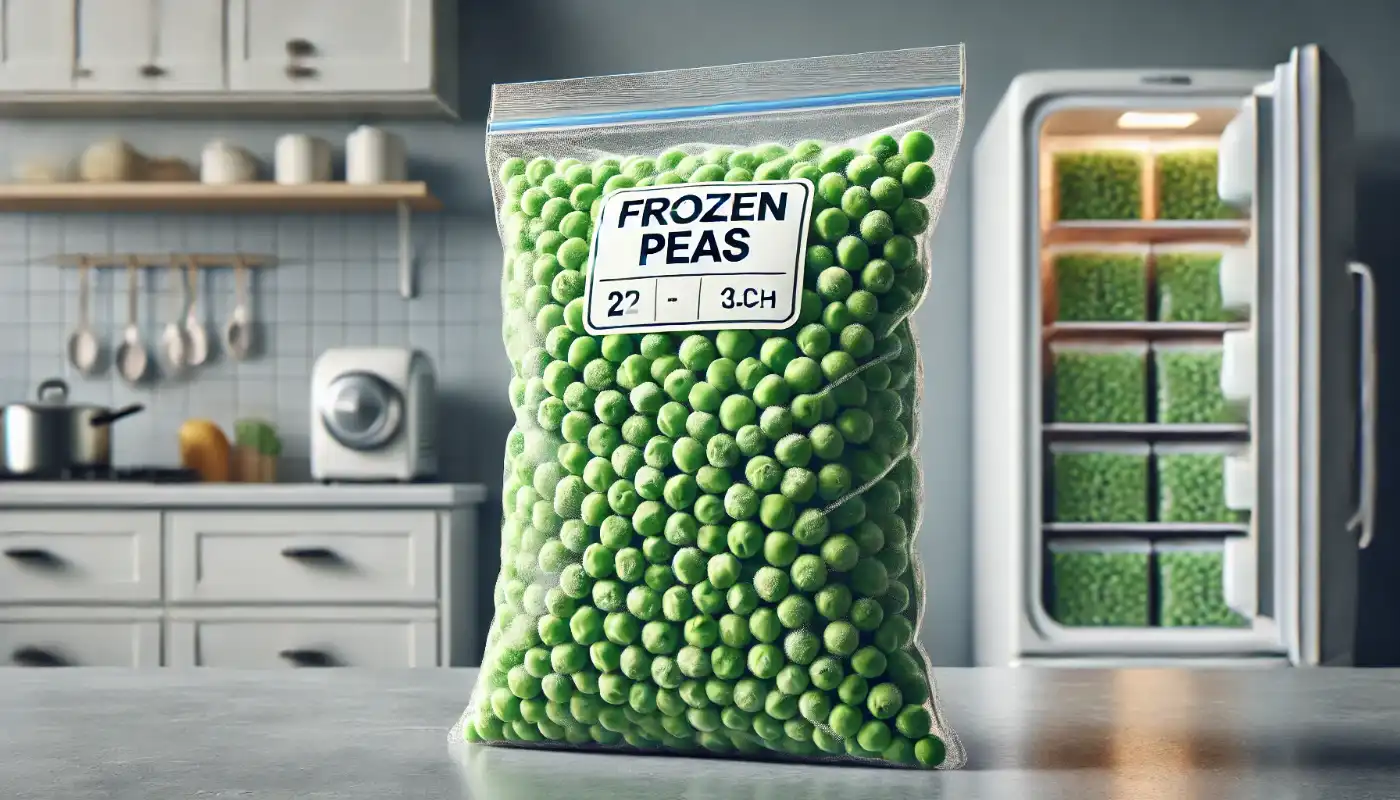
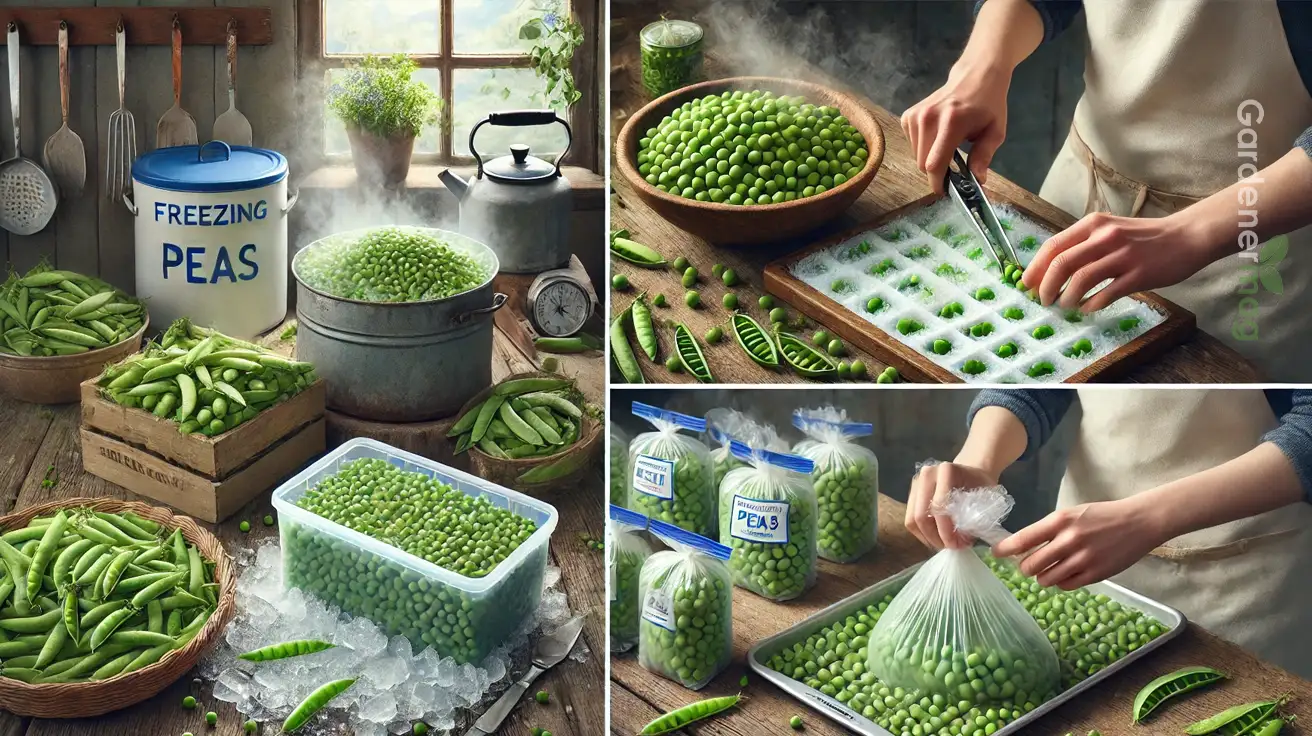
Depending on the quantity of your peas, you have two options to freeze your garden peas – individual freezing or bunch freezing.
If you have a small quantity of peas, freezing your peas individually is advisable. This ensures that your peas roll out individually when you open the bag.
Lay the peas individually on a tray and place the tray in a freezer for a couple of hours. You can then transfer the frozen peas into a freezer bag or container.
Otherwise, pour your peas in small portions directly into the freezing bags or zip-lock bags, seal the bags, and freeze until they are ready to use!
When bagging your peas, remove as much air from the freezing bag as possible.
That’s all. Now, you have fresh peas that can last you until the following season.
Whenever you need to use your frozen peas, you can either add the frozen peas to a bowl of water and heat it for about five minutes or add it directly to your dish, adding an extra five minutes to the cooking time.
Conclusion
Now you know how to freeze your peas fresh from the garden. We hope you find these steps simple and easy to understand.
Try it out and let us know your experience in the comment section below.
Note that frozen peas can only last for about six months in a conventional freezer but up to a year in a deep freezer/standalone freezer.
Click here to learn how to get rid of slugs from your garden in preparation for the next growing season.
Frequently Asked Questions (FAQs)
While some posts support that you can freeze your peas without blanching as long as you use the peas within two to three months, we do not encourage that. Blanch your peas before freezing because blanching helps to preserve the texture, color, and flavor, prevents nutrient loss, and stops the aging enzymes.
Blanching takes about one to 2 minutes.
Yes, frozen peas can sometimes go bad if stored poorly. Bad peas give a foul smell and may have a white-colored liquid around them.
Follow these steps to freeze fresh peas to preserve them:
Shell your peas
Blanch the shelled peas
Chill the blanched peas in cold/ice water
Freeze the peas in a single layer
Store the frozen peas in a freezing bag.


