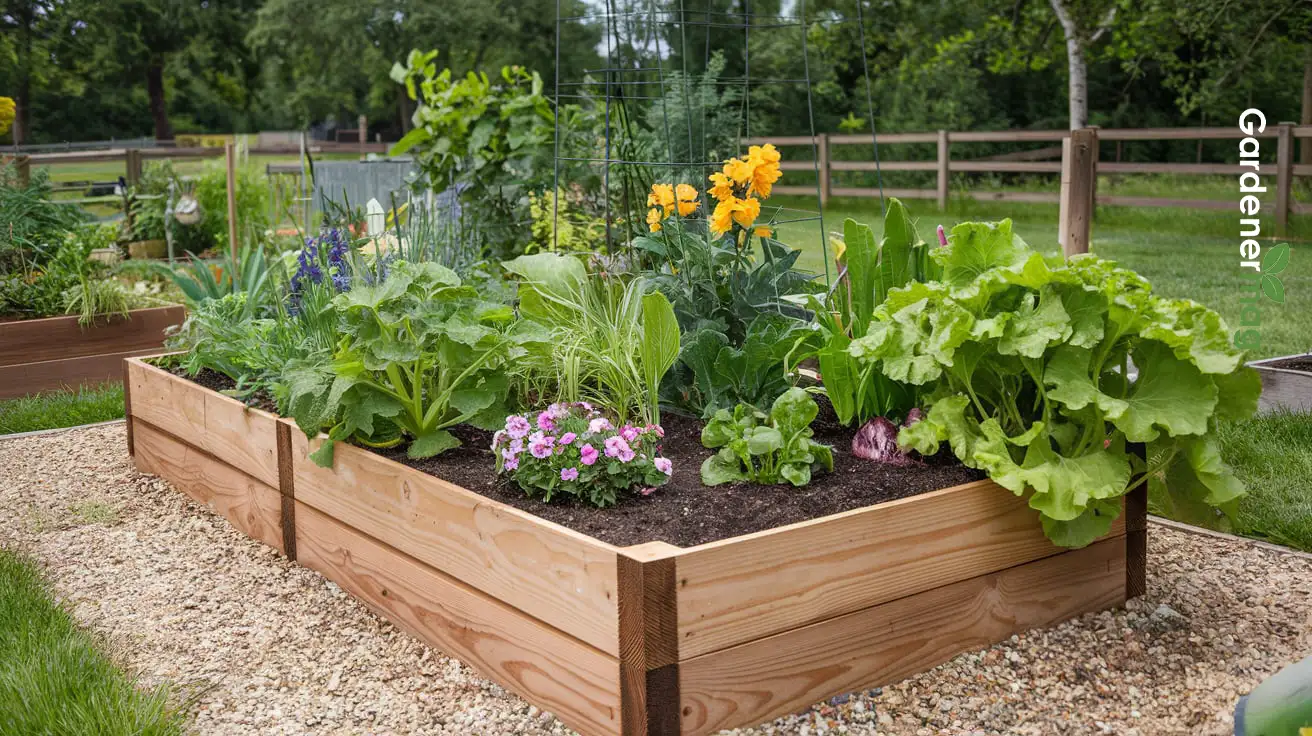
Did you know that building your own raised bed offers a great way to add more growing space to your local garden, among other benefits, which include controlling your soil’s composition and saving you a bit of backache?
- What Is A Raised Garden Bed?
- Why Build A Raised Garden Bed?
- Considerations Before Constructing A Raised Garden
- How to Build a Raised Garden Beginners
- Step 1: Prepare Your Site
- Step 2: Place The Boards In Their Positions
- Step 3: Fasten The Corners
- Step 4: Add Framing Angles Or Wooden Corner Stakes
- Step 5: Add More Stakes
- Step 6: Trim Excess Stakes
- Step 7: Fill Your Raised Bed With Soil
- Step 8: Leave The Bed For Some Time To Settle
- Conclusion
- Frequently Asked Questions (FAQs)
More so, a raised bed is more productive than in-ground garden beds, especially if your soil is poor because the soil in raised beds is less compact and has better drainage.
If you are a new gardener, you may consider constructing a DIY raised bed a daunting or overwhelming task, but that is not true.
You can learn how to build a raised garden using this detailed step-by-step guide. This guide follows a simple construction process and will save you so much time, money, and frustration. Let’s get started.
What Is A Raised Garden Bed?
For beginners who may need more clarification on what a raised garden bed is, a raised bed is simply an enclosed, freestanding box-like frame constructed above ground level.
It usually has no top or bottom and is filled with good-quality soil. The open bottom of your raised bed gives plant roots access to soil nutrients below ground level.
In a nutshell, when a planting bed sits on top of your existing soil, it is a raised bed. The raised bed structure can be made of any material, which includes wood and concrete and can be of any shape or size.
Why Build A Raised Garden Bed?
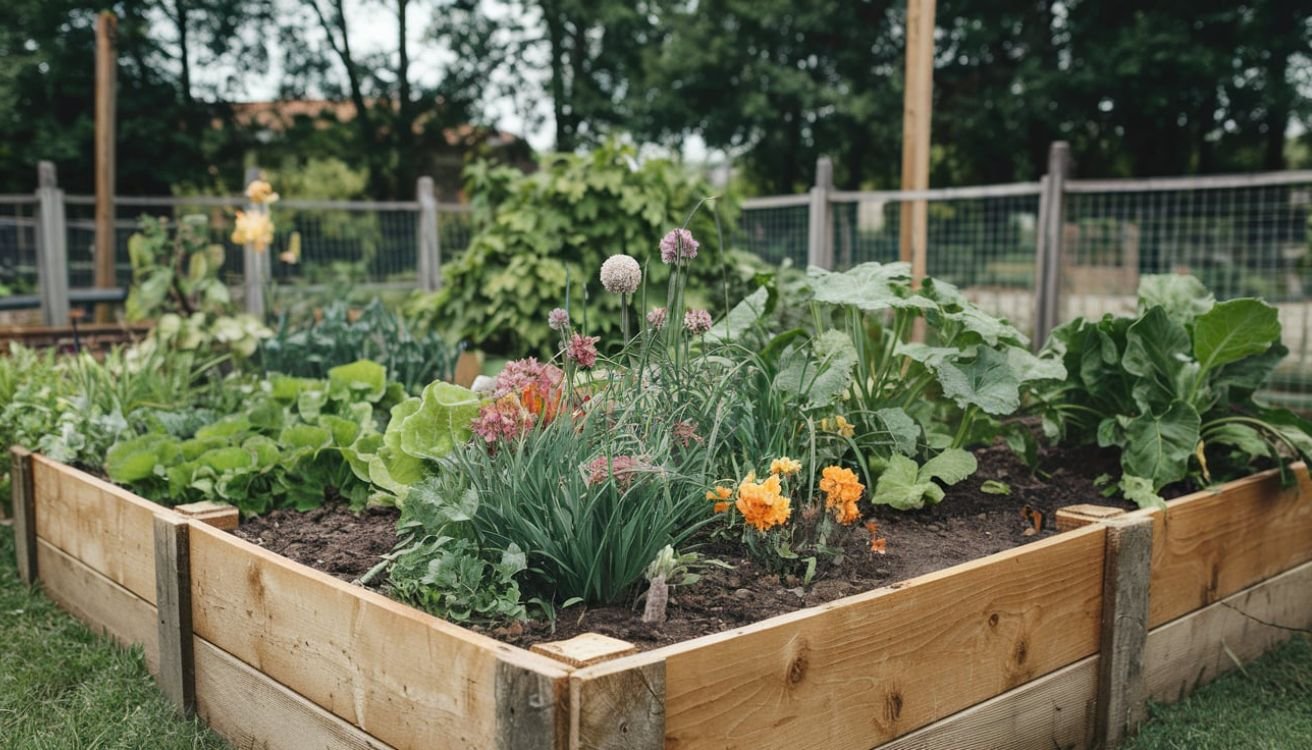
A raised bed provides a lot of benefits, which range from adding aesthetics to your garden to improving the soil structure.
Here are some of the reasons why you should consider a raised bed in your vegetable garden:
Aesthetic Appeal
Nobody likes a messy or untidy garden, especially when you need to grow fruits, veggies, and herbs together in your garden.
By constructing a well-designed raised bed, you can contain your plants and vegetables in an attractive space in your garden.
Also, a raised bed makes it easier for you to keep weeds from encroaching on your garden, providing better weed control compared to in-ground beds.
Superior Good-quality Soil
Aside from the fact that raised beds are usually filled with good-quality soil, the raised bed allows you to control your soil structure and content better, ensuring nutrient-rich soil for your plants.
For instance, when you want to fill raised bed for the first time, you can decide to create your soil mix of good-quality topsoil (a layer of better, darker soil) and compost.
Effective Water Control
The soil in a raised bed is less compact, which allows the soil to drain better and faster, preventing the waterlogged or leaching issues associated with ground beds. Also, irrigation is less wasteful on a raised bed due to the confined space.
Season Extension
The faster draining helps the soil in a raised bed get warmer more quickly than the soil in a ground bed in the early spring and late fall. This allows earlier planting of spring crops, extending your growing season.
Comfort
Another attractive feature of a raised bed is comfort. Being a raised platform, it is easier to manage than in-ground beds due to its limited size, making it more accessible for those with restricted mobility.
A raised bed is easier and more comfortable to weed and harvest without having to stoop the whole time.
Considerations Before Constructing A Raised Garden
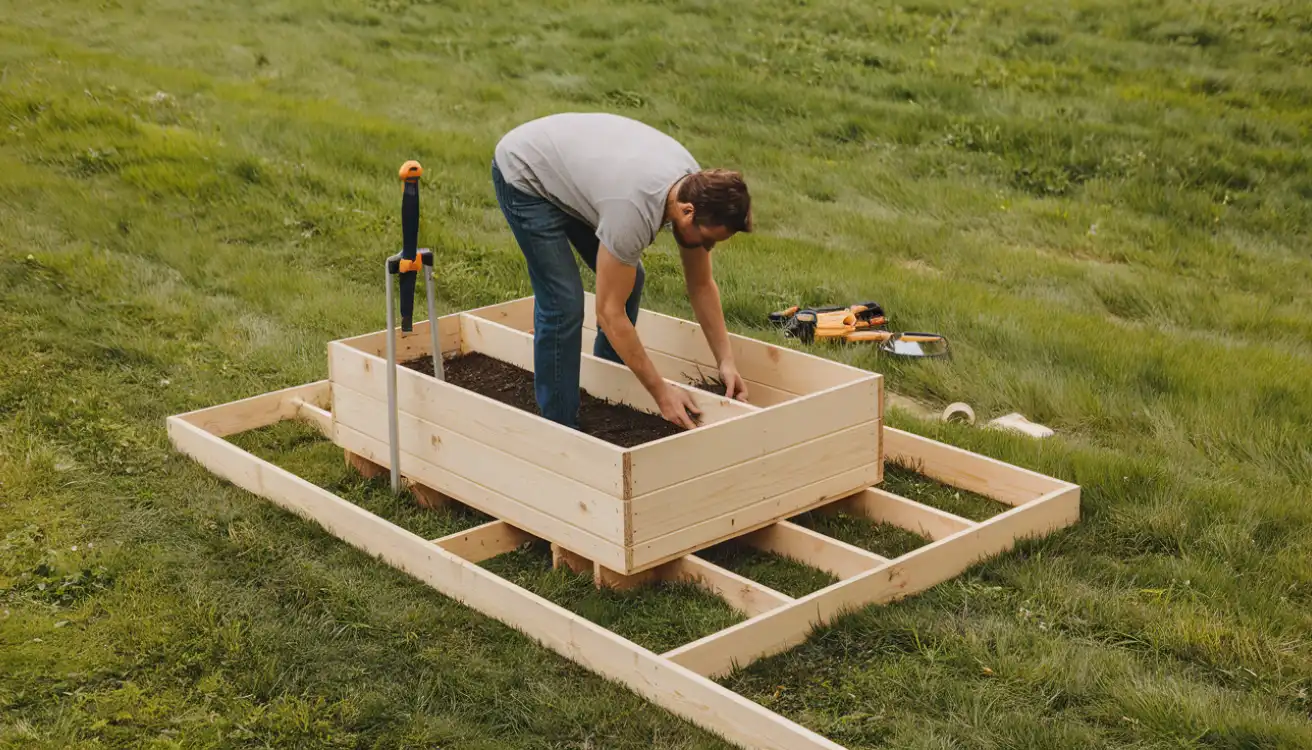
Before we start building a raised garden, here are some things to consider:
Size of the bed: This is an important consideration because it determines how convenient it would be to manage the bed. A small bed size is recommended as this will enable you to reach the garden center easily without having to stand on the soil.
Depth of the bed: The bed must be deep enough to contain the roots and support the plants. A depth of 45cm (18 inches) or more is appropriate.
If you are planting strawberries, salad leaves, or dwarf bulbs, your bed should be 30cm (~12 inches) deep, but for most plants like small trees, shrubs, and fruit bushes, the bed should be at least 45cm deep.
Pathways between beds: This is important if you are constructing multiple beds on a large garden. Make sure that there are pathways of about 45cm (18 inches) width between the beds.
If you would be using a wheelbarrow, make the pathways about 1m (~40 inches) to accommodate the wheelchair.
Orientation of the bed: Finally, you must consider the aspect and orientation of the bed. For instance, most fruits, vegetables, and flowers need full sun, so their beds must be positioned southwards or westwards in the garden, away from the shades.
If you are building a long bed, run the bed from north to south for even sunlight levels.
How to Build a Raised Garden Beginners

Now, let us go into a detailed explanation of how to make a raised bed by yourself.
This explanation is for a 122cm (48 inches) x 305cm (120 inches) x 45cm (18 inches) [width x length x height] raised bed. However, you can adjust accordingly. Also, you can choose to use any wood type that is available to you.
To get started, you would need the following tools:
- Durable timber pre-cut to the required lengths – 2 122cm and 2 305cm boards, and breadth should be 45cm. You can decide to use any wood type available to you – Cedar boards, pressure-treated lumber, reclaimed hardwood, softwood sleepers, and so on. Pallets can also be a cheap source as long as they are not treated with a chemical called methyl bromide, which act as the wood preservative.
- A digging or trenching spade
- Hand trowel
- Batons (in case you need to secure the timber layers vertically)
- Measuring tape (if your wood is not pre-cut)
- Saw (if your wood is not pre-cut)
- Electric drill and driver
- 4 Framing square and Hex Screws or 6-8 Corner stakes
- 3 inches deck screws
- Spirit level
- Rubber mallet
Step 1: Prepare Your Site
The first step is to choose an area in your garden where you want to place the raised bed. Consider the orientation of the site and make sure that the area has great sunlight exposure.
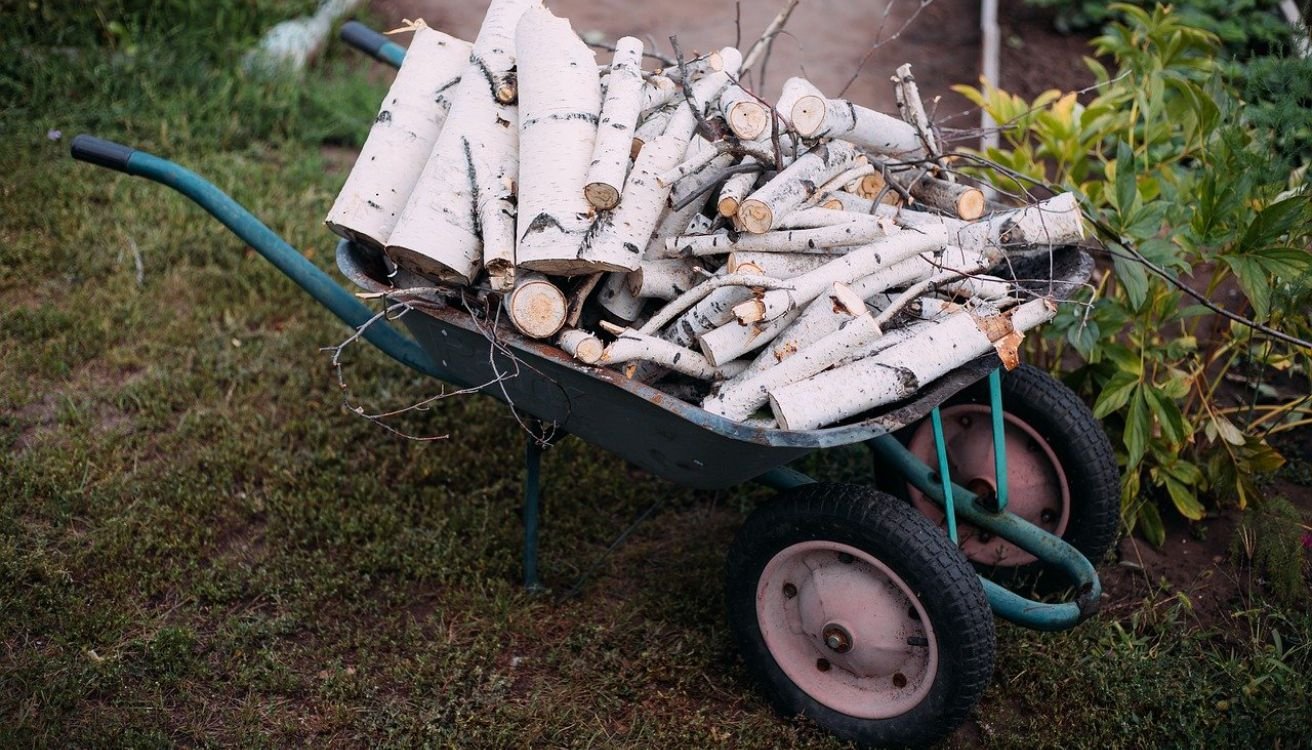
Then, use a shovel to remove weeds, turfs, or grasses off the top layer. Also, clear off any roots or rocks from the surface of the soil. After that, break the surface of the soil, if compacted, and mix it up using the shovel. This will be the base of your raised garden.
You may lay the turfs, weeds, or grasses upside down in this area so they can rot and eventually nourish the soil.
Step 2: Place The Boards In Their Positions
Use the shovel to cut a very shallow trench for a 305cm board – this is your first board placement, and you need to be very careful. Use the spirit level to ensure proper placement of the first board. This is very important and will determine the placements of the other boards.

Cut similar trenches for other boards accordingly. If your garden is leveled, you won’t have much issues cutting the trenches. However, if there is any side with a higher elevation, you would need to dig a deeper trench to ensure that the boards are leveled with each other.
Also, decide on which side of the board will be facing in or out. This might not be an issue if your board is straight. However, if the board is slightly bowed, we recommend that you place the curved side inward.
When you fill the bed with soil, the soil will press the curve outward and make the board even.
Again, you need to be very careful with this step. It may be time-consuming, but you need to do it carefully. Once you don’t get the proper placement for the boards, everything will become tilted.
Hence, put your spirit level, shovel or hand trowel, and rubber mallet to effective use to properly position the first board. You may need to remove earth from under one side and/or add it under another side to level the board.
Step 3: Fasten The Corners
By now, you must have lined up the 2 122cm boards with the 2 305cm boards along the shallow trenches and gotten a perfect rectangular shape. If necessary, use your electric drill to make pilot holes in the corner to prevent the board from splitting when you drive in the screws.
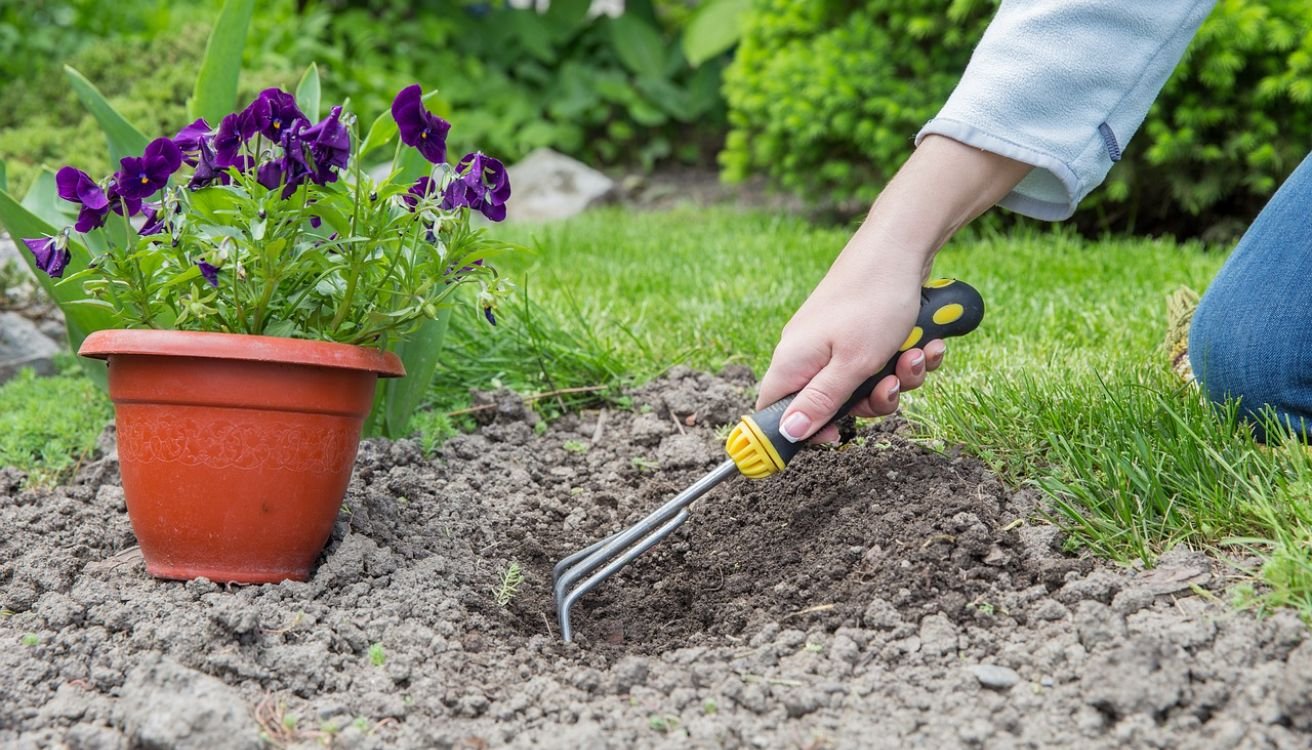
Using your driver, screw in the deck screws – three at a corner. Do this for the four sides, ensuring that the boards are leveled with each other.
Now, use your framing square to check if the corners are in square. If the corners are not in shape, use the rubber mallet to slightly hit the sides of the boards until the corners are “almost” in line with the framing square.
Step 4: Add Framing Angles Or Wooden Corner Stakes
Next, you need to add materials to make the bed frame more rigid and firm. If you have more money at your disposal, you can use framing angles, otherwise, corner stakes are fine.
If you are using framing angles, line up a framing angle perfectly along one corner and mark inside 2 or 3 holes, depending on the number of hex screws you have to use. Remove the framing angle and carefully drill a straight hole where the holes are marked.
Put back the framing angle and attach it using the hex screw. Make sure that the washer and nut are on the inside. Do this for the four corners.
If you are using wooden 2×4 corner stakes, drive down a stake firmly into the ground at a corner using a rubber mallet. Make sure that a corner of the stake fits closely to the corner of the joint board. Don’t worry if the stake is longer than the board, you will eventually cut off the excess to flush it with the boards.
Drill pilot holes through the boards into the stakes and attach the boards to the stake using screws. Use the framing square to square up the remaining three corners to ensure that everything is good, then repeat the step above.
Step 5: Add More Stakes
To ensure that the long boards do not subsequently curve out when they are filled with earth, it is necessary to support them with stakes.
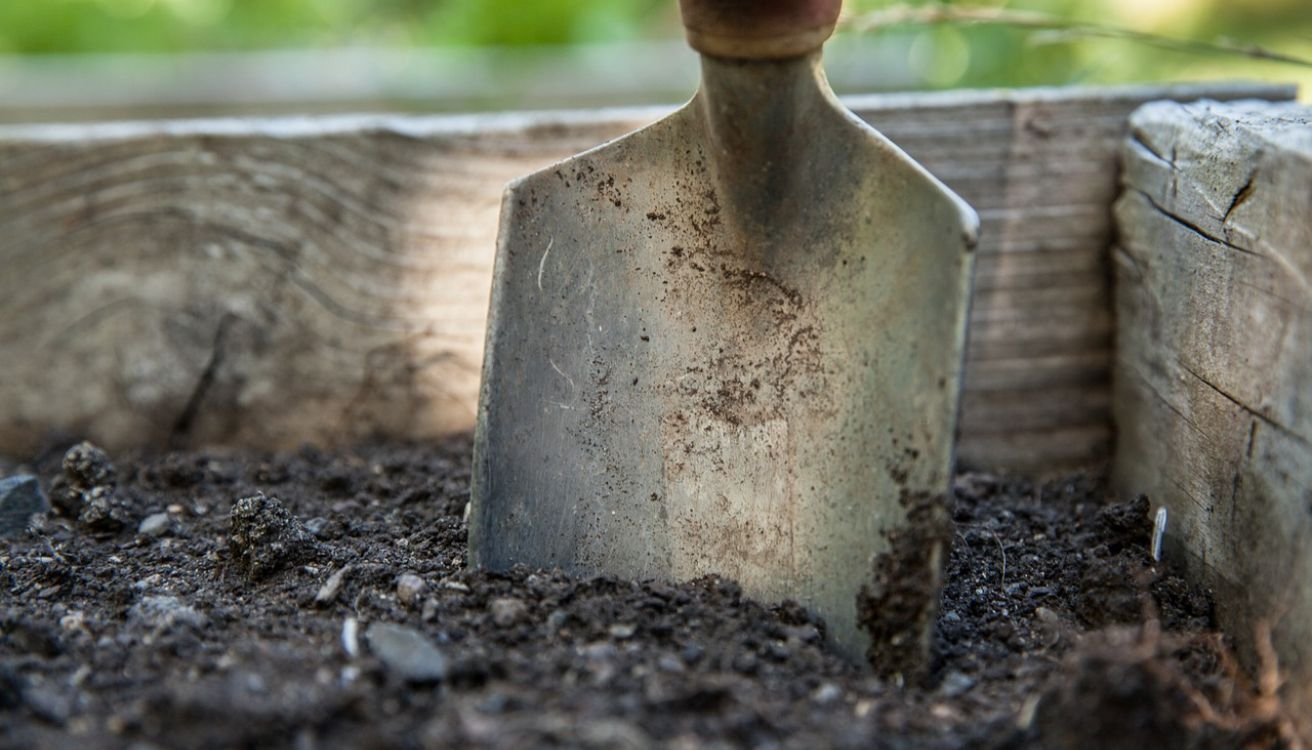
Cut at least four 2×4 wooden stakes and position them at intervals along the long boards. If you have more wooden stakes, add them to each of the shorter boards too.
Hammer these stakes into the ground and attach them to the boards using screws.
Step 6: Trim Excess Stakes
Now, you have successfully constructed the frame for your raised bed. However, to furnish the visual appeal of the frame, trim the tops of the stakes with a saw to flush with the top of the boards.
Step 7: Fill Your Raised Bed With Soil

Your frame is ready, and it’s time to fill it with good-quality soil. The ideal potting mixture for filling raised garden beds is seven parts topsoil, three parts organic matter, and two parts sharp sand.
You may double the proportion of sand to improve drainage.
Step 8: Leave The Bed For Some Time To Settle
Finally, gently firm down the soil mixture and leave the bed to settle for a week or two. If necessary, top up the level again. Now, you are good to go – you can start planting and growing your kitchen garden.
Conclusion
As you have seen in our guide above, making a raised garden bed is simple and a great way for beginners to start gardening. Our explanation above is basic, and you can adjust it accordingly to suit your desires or needs.
The idea is to build a simple DIY raised garden bed, so improvise and use the materials available to you. Once you start building your new raised bed vegetable garden and have any tips, don’t hesitate to share them with us.
Frequently Asked Questions (FAQs)
Although timber is the most popular material for building raised beds, there are many other materials you can use, which include brick, cinder blocks, stone, recycled plastic, paving slabs, etc. However, try as much as possible to use untreated woods and avoid treated woods.
Yes, you can construct a raised bed on a hard surface. However, you must modify the garden soil mixture and bed design to ensure good drainage and prevent waterlogging. You may need to leave some gaps or plenty of holes in the frame for water to drain. Also, you would need to replace the soil in such a raised bed regularly to allow water to drain properly.


