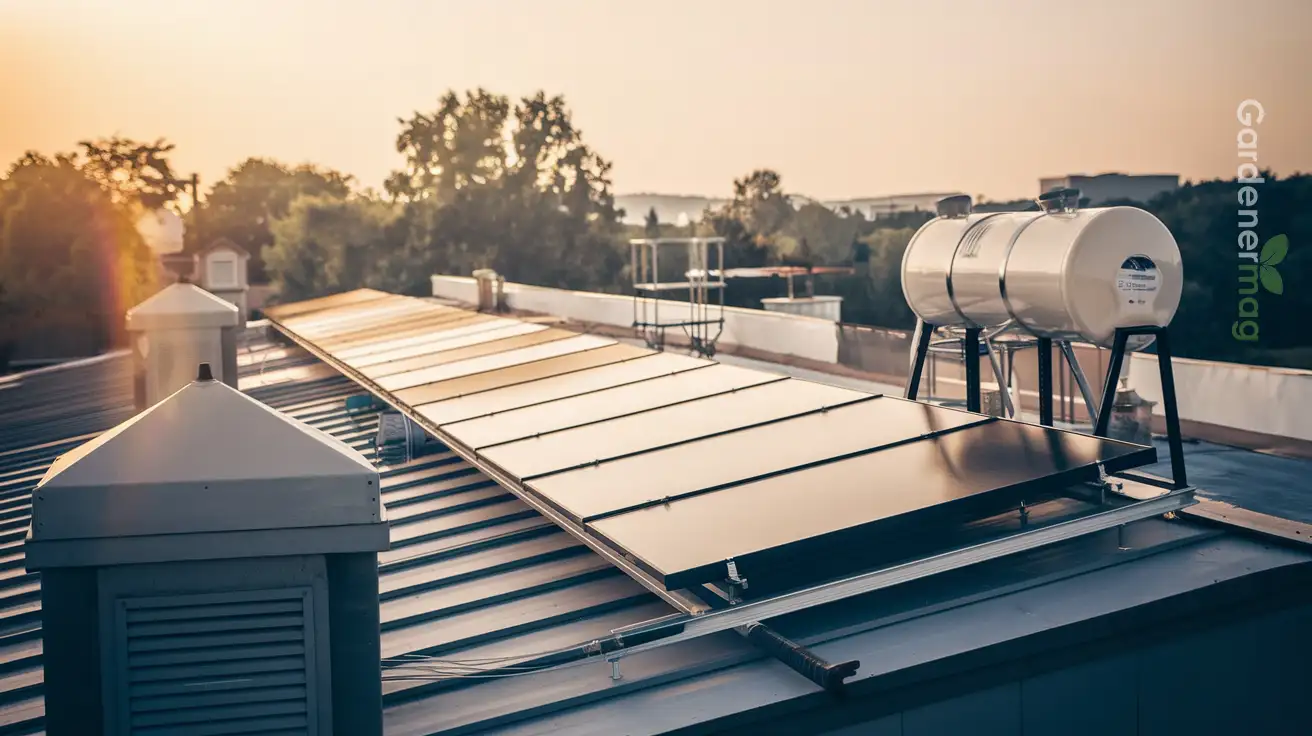
Warm water is an essential part of life, including plant life. It helps plants absorb nutrients more efficiently, boost seed sprouting in plants, and prevent some plant pests and diseases.
- Benefits of Solar Water Heaters
- How To Build A DIY Solar Water Heater
- Needed materials
- Step-by-step guide
- Step 1: Building the collector box
- Step 2: Arrange the copper tube
- Step 3: Attach border to frame
- Step 4: Cut holes in the frame for the intake/return
- Step 5: Perfecting the solar collector box
- Step 6: Paint it black
- Step 7: Fit the glass
- Step 8: Adding adapters
- Step 9: Attaching the hoses
- Step 10: Run your heater system
- Other Considerations When Building A Solar Water Heater
- Conclusion
- Frequently Asked Questions (FAQs)
However, the high cost and complexity of setting up a commercial water heater can be discouraging. Luckily, there is an easier and more cost-effective alternative – the solar hot water heater.
This guide will show you how to build a DIY solar water heater for your home and garden to save money and help the environment. Let’s get started.
Benefits of Solar Water Heaters
Before we go into details of building a DIY solar water heater, let us quickly consider the benefits of a solar water heating system in your garden.
Did you know that it is better to water your garden with warm water than watering it with very cold water? In fact, most houseplants prefer warm water over cold water.
Watering your plant with warm water at room temperature, which is about 68°F (20-22°C), helps the plant roots to absorb water and nutrients more efficiently.
At this temperature, the roots’ pump mechanism is very effective, and the water in the substrate still contains lots of oxygen. Using too cold or too hot can shock the roots and kill the plant.
Apart from its direct benefits to plants, warm water can also help to treat and prevent some plant pests and diseases.
Other benefits of solar thermal heaters include lowering your energy expenses and reducing your carbon emissions.
How To Build A DIY Solar Water Heater
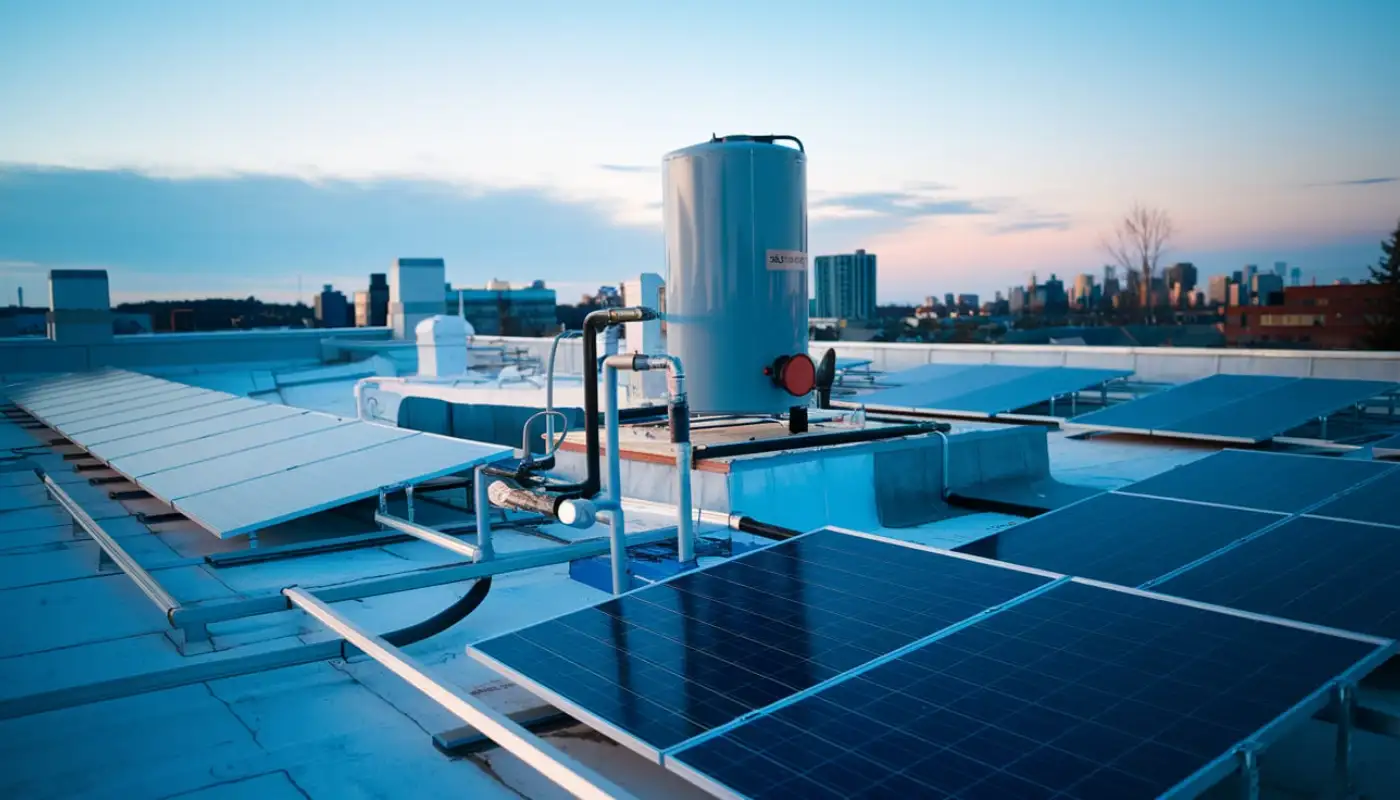
There are several different ways to build do-it-yourself (DIY) solar water heaters, but the type we will explain below is one of the most simple types. You can easily get all the necessary items from your local hardware store at low cost.
Needed materials
- ¼in 50ft Copper tubing
- Black zip ties
- Flat Head Phillips Screws (4 pack) #8 – 1in #10 – 2.5in
- ¼in Coupling
- ½in to ¾in PVC Swivel
- ⅜in Square Dowels
- Wire Nails
- 23.7in x 23.7in Plywood sheet
- 20in by 20in Plywood sheet
- 20in by 20in Pane of Glass
- 8 2ft by 2ft Lumber Cut – two 23⅛″ & two 20⅛″
- Handle
Step-by-step guide
Step 1: Building the collector box
Lay the 20in by 20in plywood sheet on a flat surface. Using a pencil, divide the surface of the sheet into four equal quadrants. The lines will act as guides to lay the zip ties.
Step 2: Arrange the copper tube
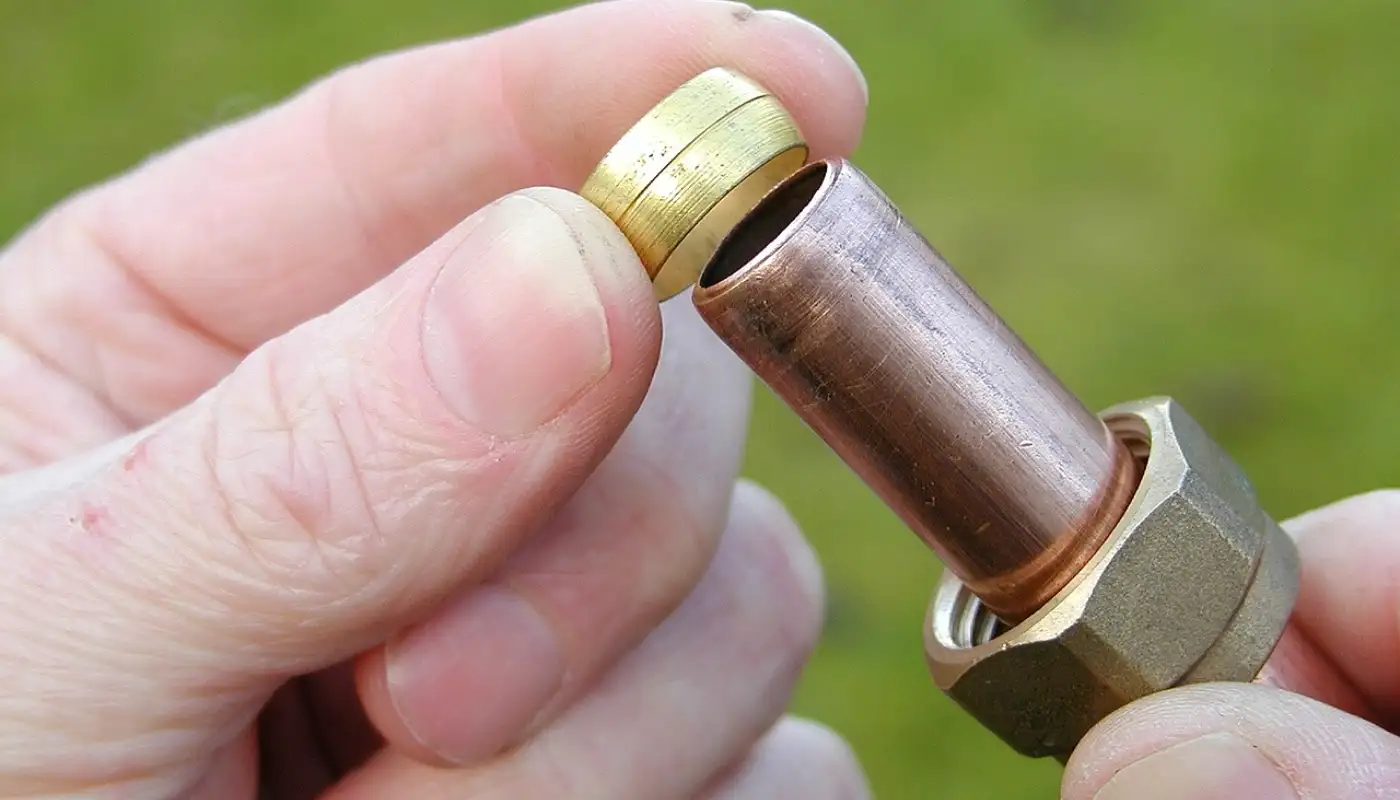
Unpark the ¼in copper tubing and lay it on the sheet evenly over the four quadrants. Leave about 24 inches of the copper tubing unattached at the beginning.
Drill holes large enough to fit zip ties along the lines on each side of the copper tubing. Attach the tubing to the sheet using the zip ties until you have 2ft remaining.
Once you are done attaching the copper, cut off the ends of all the zip ties.
Step 3: Attach border to frame
Using the 2ft by 2ft lumber cut, construct a frame. Drill the ends of each lumber cut and attach the four pieces using screws to form a rectangle.
Center the rectangle perfectly on the 23.7in x 23.7in Plywood sheet and attach it with screws.
Step 4: Cut holes in the frame for the intake/return
Carefully insert the smaller sheet with the copper tube attached into the new big frame. Please take note of where the unattached extended tube crossed the lumber cut on both sides and marked them with a pencil. Remove the smaller sheet and drill ½in holes through the lumber where the tube meets the frame.
Step 5: Perfecting the solar collector box
Re-insert the smaller sheet into the big frame such that the tube endings go right inside the ½in holes on either side of the frame. Make sure that the smaller sheet is positioned correctly.
Firmly hold down the smaller sheet on its four sides in the frame using the ⅜in square dowels. Make sure that you pre-drill the holes before screwing to prevent splitting.
The square dowels also act as a frame for the glass. Now, we have constructed our solar collector.
Step 6: Paint it black
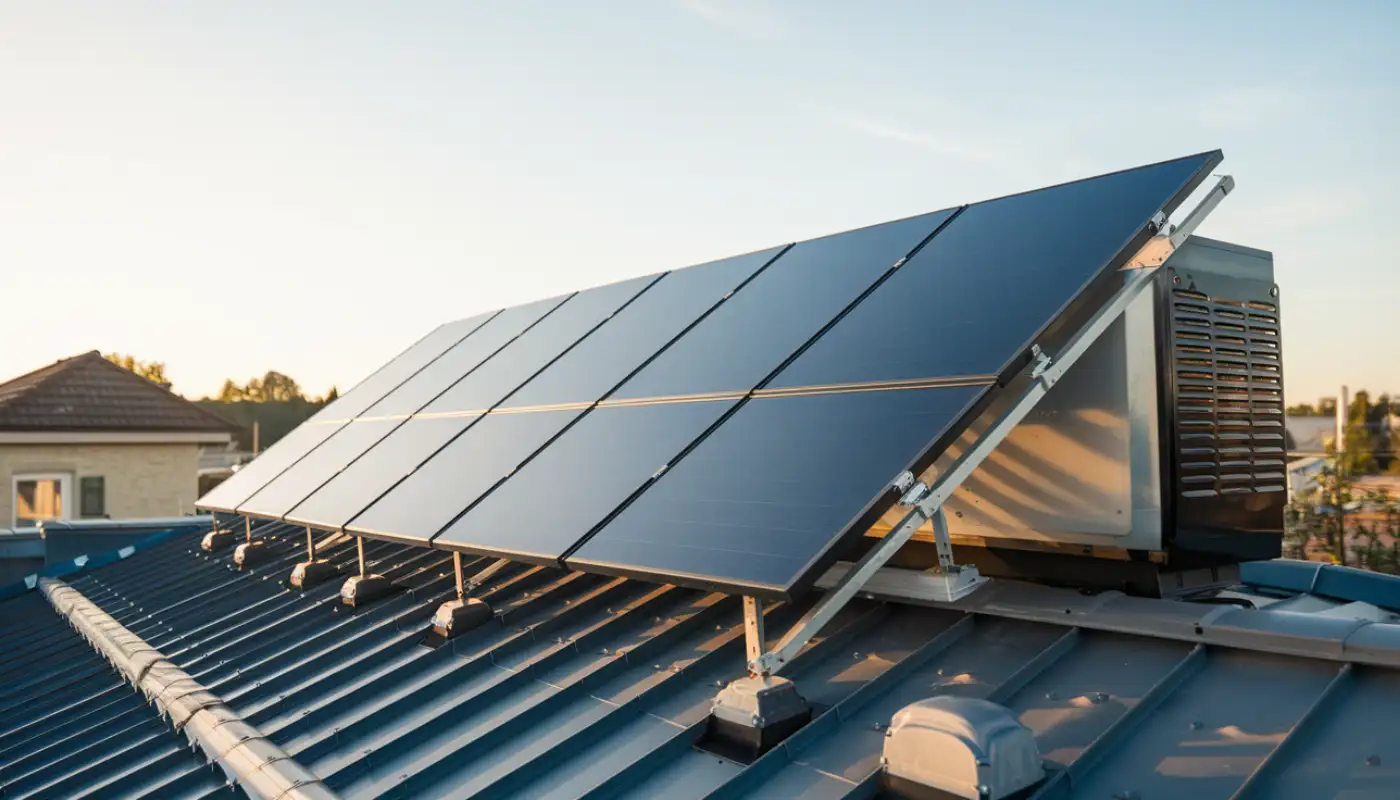
Spray paint the solar collector – the entire frame, smaller sheet, and copper tubing inside the frame – black.
Spraying the whole solar collector black is a good idea because it serves a lot of benefits, which include helping the collector generate more heat, protecting the wooden frame from rain and mold, and protecting the copper from ultraviolet (UV) rays.
Step 7: Fit the glass
Once the painting is dried, lay the glass pane carefully in the frame and hold it down using the ⅜in square dowels screwed to the body of the frame. Also, screw the handle to the frame for easy carrying.
Step 8: Adding adapters
The next step involves attaching coupling and swivel to the pipes. Note that the left side is the inlet side while the right side is the return side, and fit the necessary couplings accordingly.
Place the solar thermal water heater in a spot that receives the most sunlight for effective performance. Leave the solar heater in the sun for a while, or heat it with a hair dryer.
This solar water heater should be able to maintain a temperature of 165°F and deliver a flow rate of about one gallon per two to three minutes.
Step 9: Attaching the hoses

Get a hose long enough to run from the left side of the solar thermal heater to the deep end of your tank (where the water is coldest), and run another hose from the right side of the heater to the shallow part of your tank.
Depending on the type of heater you want – passive or active, you may need a utility pump or sucker to pump water from your water tank into the heater.
If you want an active heater, you would need a utility pump or sucker for your heating system; then you would connect the hose from the pump to the left side of the heater.
Step 10: Run your heater system
Voila, our solar water heater is ready. Wait till it’s sunny and allow the copper to warm up. Turn on the pump and watch the magic – cold water in, warm water out. It may take a while for the whole water in the tank to become warm, just wait and let the heat circulate.
Other Considerations When Building A Solar Water Heater
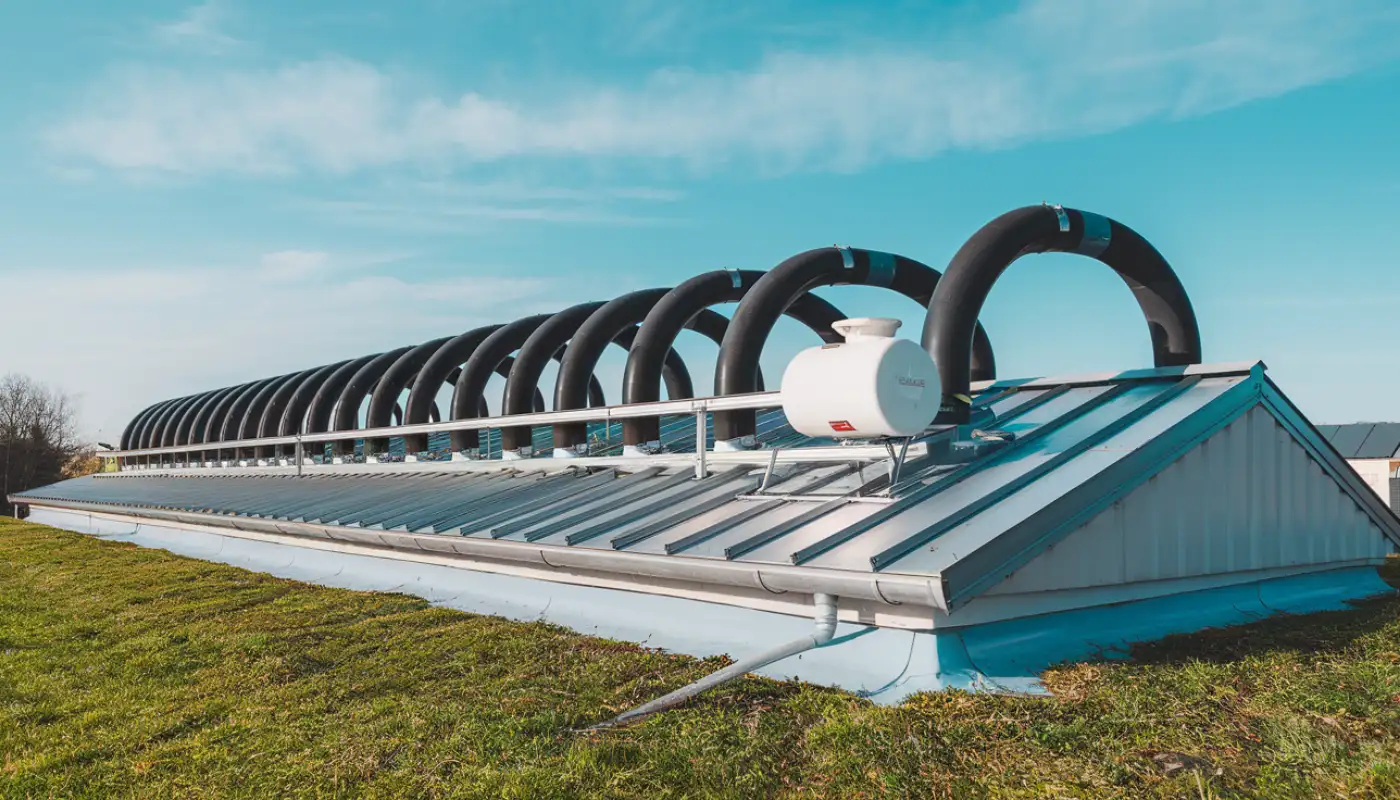
While constructing a solar water heater, the location of the heater collector box is an important factor to consider. The collector box must be located where it is exposed to the most sunlight per day.
Another consideration is the size of the water tank. This factor is important because you wouldn’t want to run out of solar hot water in the middle of your watering. We recommend getting a big water tank.
Finally, it is important to insulate your water tank properly to keep the water warm without wasting energy.
Conclusion
As you have seen above, building a solar water heater can be a simple DIY project, capable of saving money on your energy bills and saving the environment.
All you need to do is follow the steps above to guide you in building your solar heater and start using solar energy to warm your water.
Frequently Asked Questions (FAQs)
No, you do not need any special skills or knowledge to build a solar water heater. The procedure is simple and easy to understand. Simply follow the steps in the guide above to build your solar heater. However, you need to be careful when handling certain materials and tools.
Solar water heaters come with a lot of benefits, such as supplying a constant flow of warm water, which is ideal for watering your garden, cutting your energy bills, and lowering your carbon footprint.
To build a solar thermal system, you need materials like plywood, copper tube or coil, insulation, drill, screws, screwdriver, etc.
Yes, a well-built solar water heater should be able to effectively warm water for daily use. However, a DIY solar water heater cannot match the efficiency of a commercial water heater.


